Designing QCC Custom Fob Covers
Published on: March 16, 2026
Lu is officially a QCC Member!
I am so excited to be part of the Queer Computer Club here in Toronto!
When I became a member I got keys to the space and they are simple NFC fobs. Their design is pretty simple and for some people thats great! (some people don’t want it to call attention) However I like to customize my gear and make it look cool.
So What did I do to my Keys?
I wanted to customize them, but since I didn’t want to make permanent changes, stickers or glue were off the table. Then I had a genius idea: why not 3D print a custom case that I can just snap on?
That’s when my silly brain started prototyping.
Part 1: Making the Fob Case in Blender
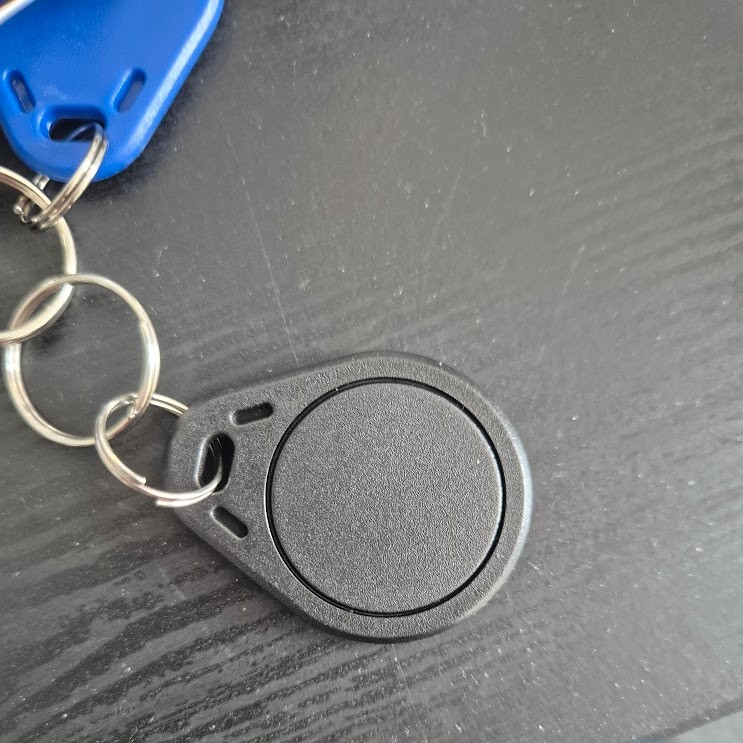
Before doing anything I needed to get a rough estimate of the fob in Blender, so I just took a picture and started modeling it, I didn’t grab measurements at the time and that came to bite me later on the process.
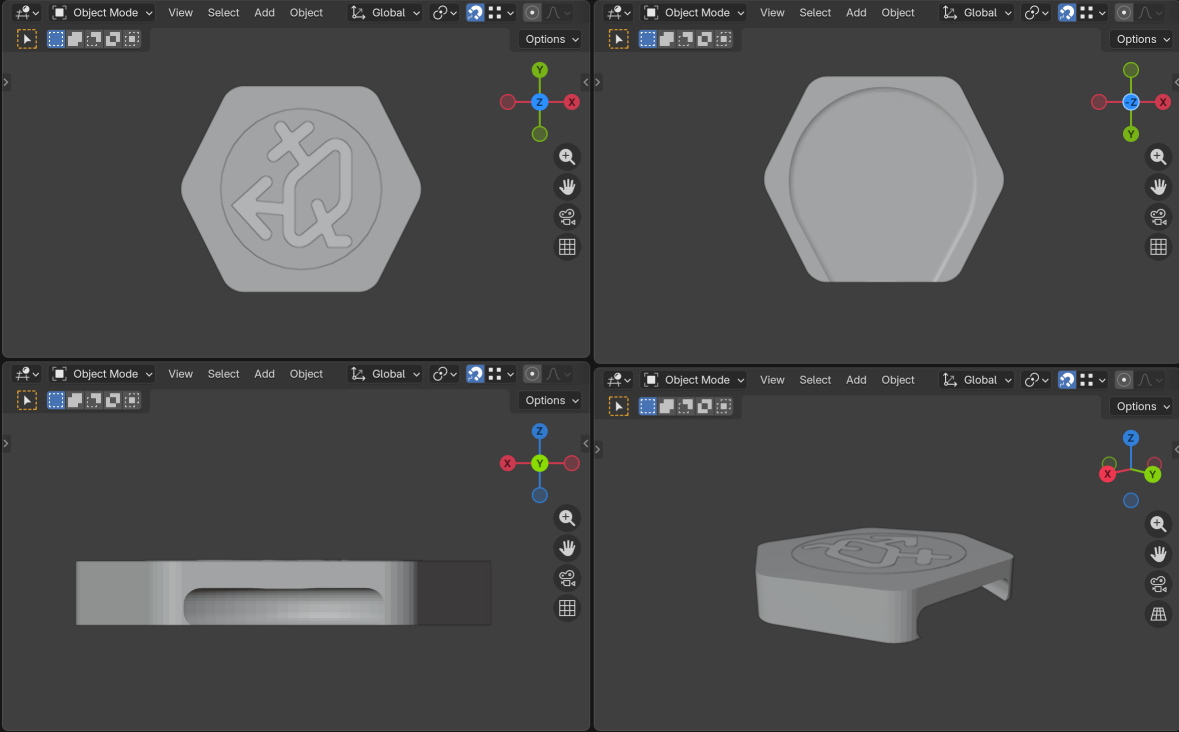
After that I started to design the case for it. I wanted something sleek and that wouldnt make the tag clunky while also being stylized. In the end my idea was simple, use a hexagon! Because the hexagon is the bestagon!
Part 2: Making the Design
After getting the roughshape of it done I decided to go and stylelize it. I wanted it to be unique but also easy to print, so no complex design on the face. In the end there wasnt a lot of back and forth on the idea, I simply made so that the bottom has a circle area where i stuck the QCC logo on.
When it come to printing I did so that the design is split in 3 parts in one .stl, and it worked pretty well! I have heard that you can use a .obj for a better control of multi-color prints, but I havent really done any research on it so can’t confirm how well it works.
Part 3: Don’t Measure, Re-Size It More Than Once
So it was time to print, and well, let’s just say my “visual estimate” was a bit ambitious. It was way too big.
Remember how I didn’t measure? After failing beautifully on the first attempt, I finally did the responsible thing: I grabbed the calipers and looked for an existing reference model online. Even then, it took a lot of attempts to find the sweet spot.
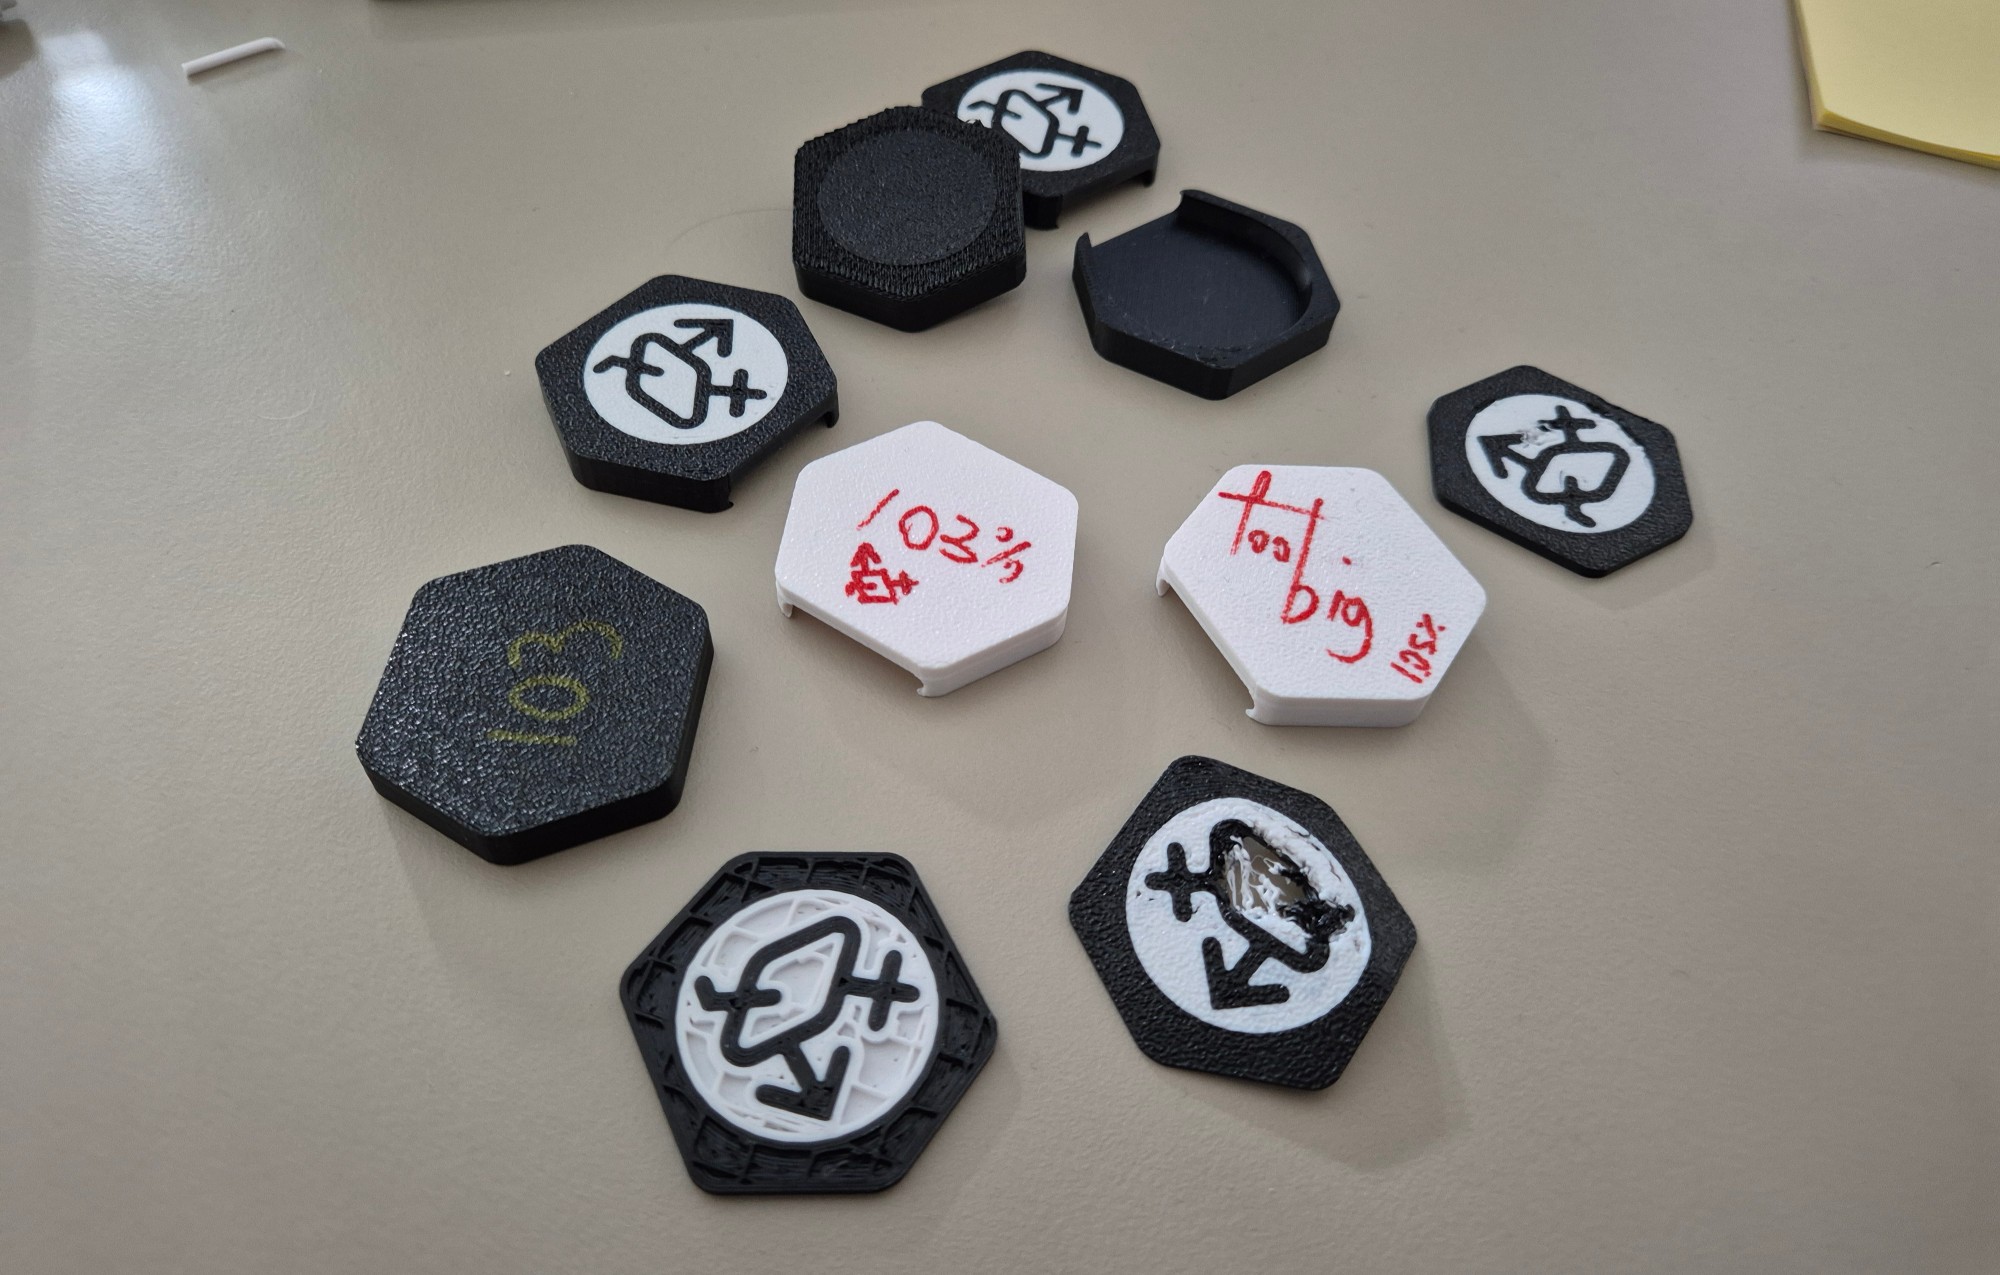
Fun fact: different filaments (and even colors!) can shrink or expand differently. I eventually found the perfect fit using Black and White PETG From Elegoo.
I choose PETG because its a more durable than PLA and about the same price, so it felt like the good choice.
Part 4: Print like crazy
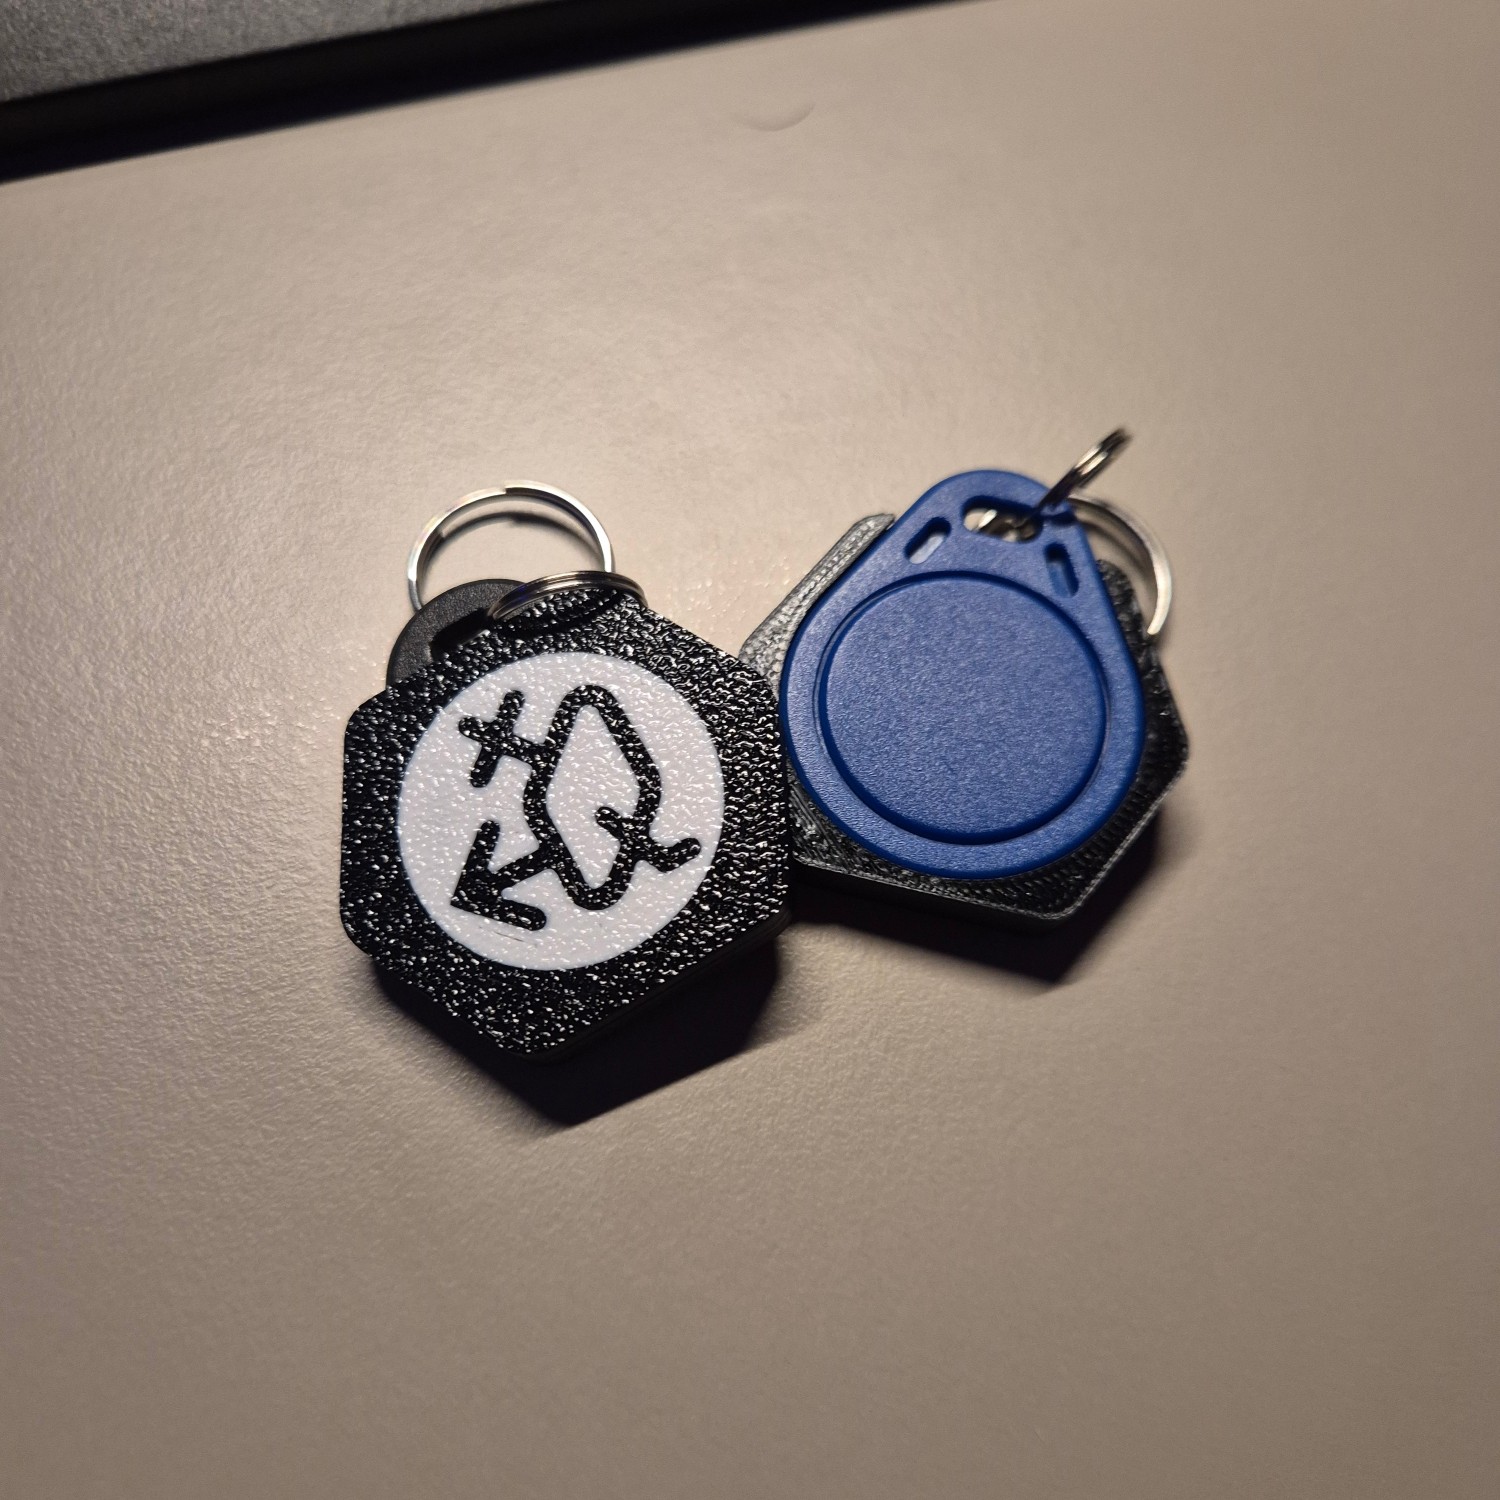
Now that I got the model and sizes right there was only one thing left to do, print the final versions! In the end I decided to print 30 of them so enough people could grab one at the space but it also wouldnt be too crazy of a number to print.
Project Last Remarks
This was a really cool small project to work on and I am really proud of myself for completing it. This project tought me to never understimate the hability of measuring stuff beforehand (having to do re-do my modeling was not fun).